Tuesday, December 7, 2010

Bow Holder

Any of you moms with little girls ever get sick of digging through all the bows to find matching ones? Or to find the one you want?

I made this months ago and have been meaning to get it up on the blog. Im FINALLY getting around to it!

Supplies Needed:
Picture Frame
Coordinating Ribbon (length depends on size of frame)
Hot Glue Gun and glue sticks

First pick out your ribbon. I bought a ribbon pack for about $2 at Hobby Lobby with all of these in it.


Take the glass and backing out of your picture frame. Stretch the ribbon tight from the inside top of the frame to the inside bottom of the frame and hot glue the ribbon in place.

And voila! A simple and easy way to find and organize your little girls bows!


Fabric Wreath

Recently a friend of mine left for basic training for the Army. I decided that as a Christmas gift, I was going to give his mom a wreath for their front door. I had come across this idea a while back and shared with my friend (and Im pretty sure long lost twin) Andrea. Luckily, she got to making it before I did so I was able to ask her for a few tips. THANKS ANDREA!!!

This is not my finished product for this gift since I still need to add ribbons, bows and a name tape. But I wanted to get the basic main idea of how to make this wreath up on the blog as fast as I could in case anybody else wanted to make these as a gift as well. As with most of my projects this is VERY easy to do. Just a little time consuming ( I took a few breaks during the process)


Supplies Needed:
Foam wreath (got mine at Hobby Lobby)
Fabric (I cut up an old Army uniform of my husbands. WARNING! Those things are NOT meant to be cut and I ended up with a few blisters on my hands to prove it)
Hot Glue gun and glue sticks
Screwdriver


First cut your fabric in to strips
Next, dab a little dot of hot glue on to the wreath and place the fabric on the glue. Take your screwdriver and push the fabric in to the wreath. You can twist it a little bit to change the look up.

This is what you should have after the first piece is done.
Do this around the wreath until you are done. You dont have to keep the pieces too close together, just enough to fill the wreath. I left the stryofoam on mine green since it went with the colors of the uniform. If you are going to be using different fabrics, I recommend spray painting the styrofoam first to match with the fabric.
And the (almost) finished product!!!

I will try and update this entry once I am completely finished with it.

ENJOY!


Monday, November 29, 2010

Christmas Trees!


So I was shopping through Target the other day looking for some stuff to add to my Christmas mantle. I found the gorgeous gold Christmas tree cones but they were $17 a piece and I needed 2. couldnt bring myself to spend that money on something that would only be up 1 month a year.

So I went to Hobby Lobby and came up with this...


(P.S. Images taken on my cell phone. SLR was packed away and I wanted to get this done
before it rained)

Supplies Needed: (all purchased at Hobby Lobby)
Paper Cones
Metallic Gold Spray Paint
Gold Glitter Glue

First Spray paint the cone with the gold spray paint


Let it dry and then take the glitter glue and add whatever design you want. I did swirls.

And thats it! (see picture at top)

Have fun!!!!

Saturday, October 2, 2010

Light Globe Ghost.

Ok so I have been WAAAY behind! As many of you know my girls have been super sick with a nasty little thing called Rotovirus. 1 week, 2 hospital visits, and a lot of crying phone calls later, they are over it.
My mom (or Mama as I call her) came in to town this weekend to help me disinfect the house and brought along an adorable little craft she saw in a Lowes magazine to help cheer us up. This is SUPER SUPER easy to do!!!


Materials Needed:
1 Light Globe (Mama said this one cost her a little less than $8)
1 Plant Saucer (about $1)
1 Candle (not pictured)
Black Spray Paint
Permanent Marker


First, spray paint the saucer.

Next, draw eyes and a mouth on the globe with a permanent marker.

Place the globe on the saucer and thats it!!! Now just wait for night time, light the candle and stick it under your globe.


Enjoy!!!

Friday, September 17, 2010

Fabric Pumpkins!

Ok so here goes my first tutorial that I actually planned on making!

I wanted to add some color to my fireplace mantle to give it that "fall" look. Im still planning on
adding some candles and candle sticks.

Just a little disclaimer... this tutorial involved a sewing machine. But dont get scared! You can still sew it by hand if you want, it will just take longer. Im TERRIBLE at sewing straight lines.
Fortunately, this project doesn't require you to do so. So dont be scared to try this
out! Remember, when you sew anything, sew it together inside out. Then you will flip it right side out. (the pictures well help explain this)

I went to the JoAnns (I prefer hobby lobby but they were closed because it was Sunday) and bought some discounted fall fabric, ribbon and thread.

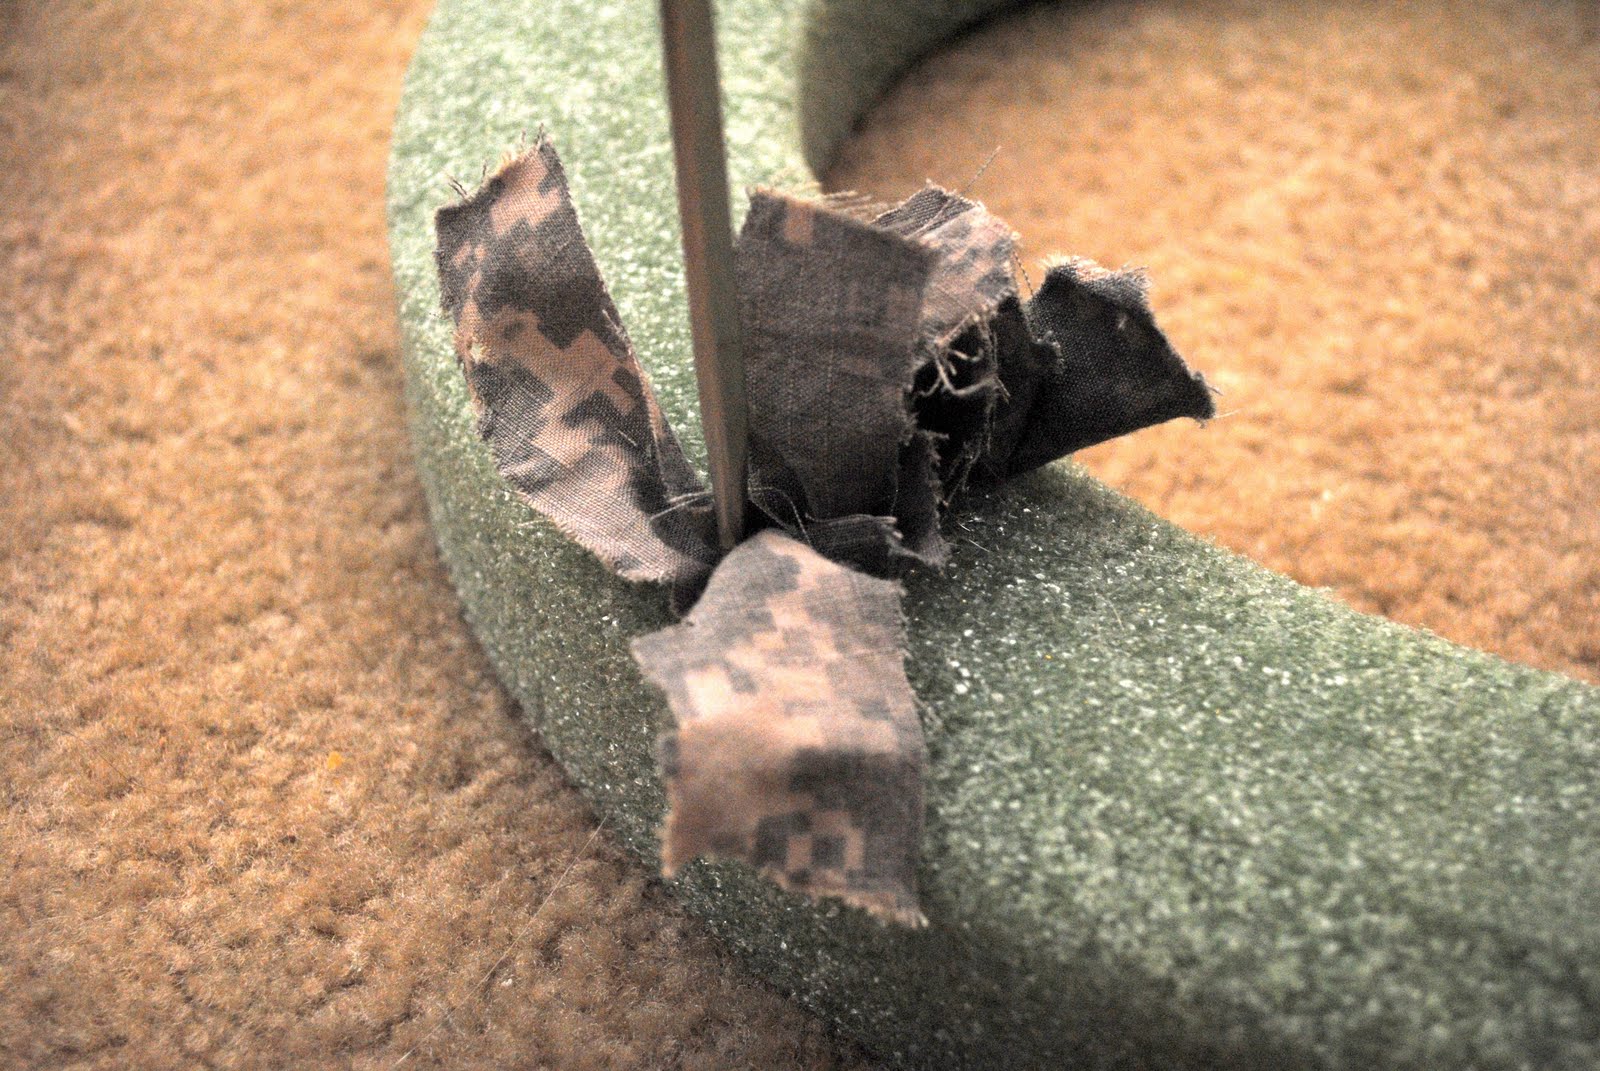
First I cut out a small rectangle out of my dark green fabric. I then turned it inside out and
sewed all but the bottom together. I then stuffed it and set it aside. So it looks like this...


Next I took my fabric, folded it in half and cut out a square (so I had two squares)
I then took each individual square and folded them in half, with the wrong side facing out. I then sewed a seam down the inside corner.


Next I cut off the corner of the fabric.


When you open it up it should look like this...

Next lay the "stem" in between the 2 pieces of fabric. The right sides should be facing each other.
Sew all sides but the bottom. When you get to the bottom sew, half way and stop. Turn the pumpkin inside out (actually, its technically "right side out") and stuff with stuffing.
Finish sewing the bottom ( i hand sewed this part) Tie a ribbon around the top and then you are done!!!


Enjoy!


Friday, September 10, 2010

Last Name Blocks

I recently posted a picture of the mantle over my fireplace. A lot of you have asked how I made my "Gardner" blocks. So again, I made a tutorial to explain how I did it.

Please remember, I wasnt planning on making this tutorial when I made these so I dont have pictures to go along with my directions. Please let me know if anything is too confusing and Ill be happy to help.

First, I went to Hope Depot and had them cut a 4x4 post. Ask them if they have any scrap wood available. I paid $2 for 10 blocks instead of $14 for an entire post. If they dont already have scraps they will usually find a piece they can cut for you. Have them cut the post into 4x4x4 blocks. I always get 1 or 2 more than I need in case I mess up.

Next, sand down your blocks.

Then, paint the blocks whatever color you want your letters to be. I painted mine white first.

Once they have dried, apply your vinyl lettering.

Next paint over the blocks again with whatever color you want your blocks to be (I used red)

Once they have dried, slowly pull off your vinyl lettering.

I then took sand paper and brushed over the surface of the blocks to give it a "weathered" look. I sanded the edges a little more than the surface to make the effect a little more dramatic.

And thats it!!!

I also made some for fall but wanted my letters to be bigger than the vinyl letters I had. So instead I hand painted them on, after I painted them green.

Leave a comment and let me know what you think!


Monday, September 6, 2010

Poor Mans Canvas


So Ive decided to make a craft blog. While my husband is deployed I usually end up making things for the house to help pass the time. So here goes my first tutorial...

I posted some pictures on Facebook of my self titled "Poor Mans Canvas" and got a lot of questions about how I made them. Since I wasn't planning on doing this when I made them, I didnt take pictures along the way, so I hope my directions will be easy enough.

I went to Home Depot and had them cut a piece of finished wood (MDF I think is what its called. Just tell them that and if its not they will know what you are talking about) in to 8 12x12 pieces. (I put 2 aside for other projects)

Then I went to Sams and had them print my pictures in the 12x12 size. Each print cost less than $3 (as opposed to Kinkos who wanted $67-ish for 6 prints). I brought my pictures in on an SD card and told the guy behind the counter what I was doing. He had me do what I wanted on one of the machines and then sent it back to his computer behind the counter and verified everything with me before he printed it. (Note: make sure you do this before you do the rest of your shopping. Printing takes about 20 minutes if there is no wait)

Next I took a can of black spray paint and spray painted the edges of all the wood pieces.

Once they were dry, I Mod-Podged the back of the picture AND the wood and stuck the picture to the wood. I bought my Mod- Podge in a "Matte" finish at Hobby Lobby. I think you can get it at Wal-Mart too. It runs around $6 and goes a long way!

After all the pictures dried to the wood, I did a layer of Mod- Podge over the picture with a paint brush. The bristles gave it the streaky canvas look and sealed the picture to the wood as well.

After that I just bought picture hooks, and stuck them to the back.

And your done!!! Trust me, if I can do it, so can you!!!


Here is the finished project...